Hello everyone, I'm Niko Mroncz, Head of Sales Engineering at Xomemetry Technology. Since 2010, I have been working in 3D printing. When surface quality and precision are extremely high, SLA is always the best choice. However, compared to powder processes, SLAs have much lower fault tolerance—achieving efficient design requires a deep understanding of the process principles.
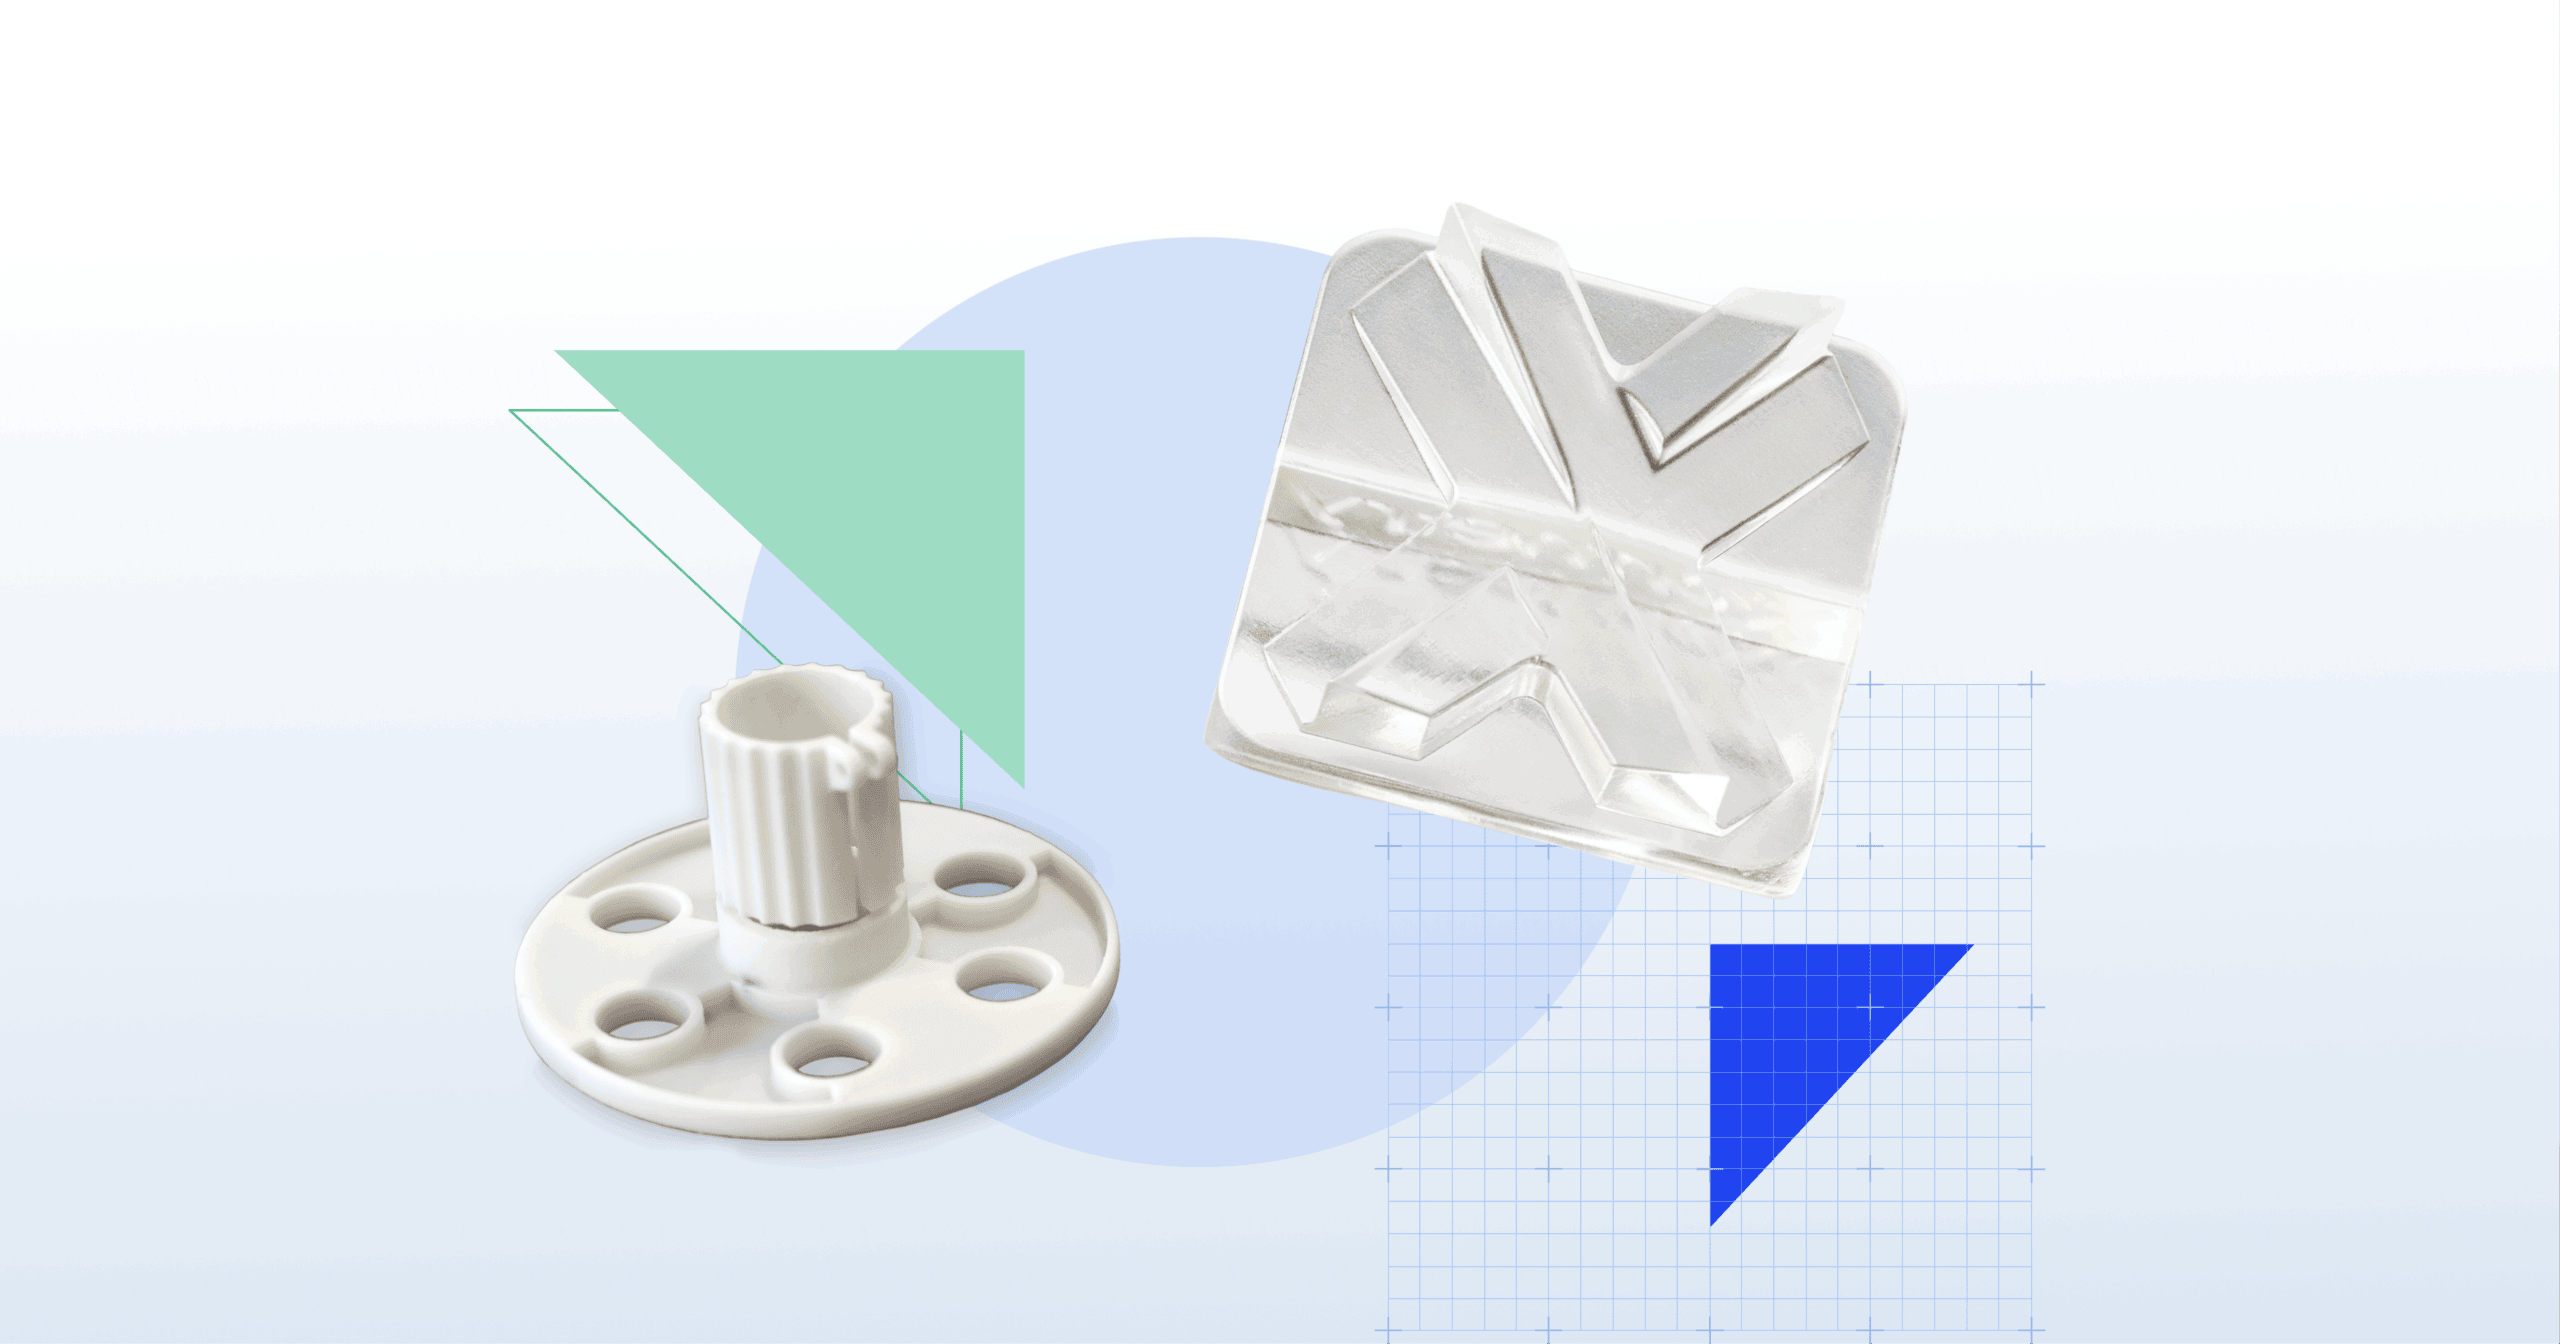
Stereolithography (SLA) is a resin-based 3D printing technology that uses ultraviolet lasers to selectively cure liquid photosensitive resin layer by layer. SLA's outstanding advantage lies in its ability to manufacture parts with extremely fine details, smooth surfaces, and tight tolerances—often requiring almost no post-processing. It supports a variety of materials, including general-purpose resins, high-temperature resins, and transparent resins.
With these features, SLAs are highly suitable for prototyping, mold master molds, dental models, small mechanical parts, and parts requiring design requirements. However, compared to processes based on thermoplastic materials, parts made from SLA generally have poorer UV resistance.
Nikolaus Mroncz
Head of Sales Engineering at Xomeri Technology
It should be noted that although the surface quality of SLA parts is excellent, they also have certain limitations. Over time, exposure to sunlight may cause parts to become brittle, while light-colored parts—especially white or transparent ones—may yellow. While spraying a transparent coating can slow down this aging, there are still some design tips worth sharing to help achieve better print results, reduce failure rates, and maximize the benefits of SLA.
1. Follow the minimum feature size limit of the SLA
While SLA 3D printing excels in fine details, features that are too tiny can still cause problems during production. Slender needle-like structures may be too fragile, narrow grooves may not be clearly formed, and small holes may be blocked due to resin buildup during printing. Such defects usually arise from geometric designs that break through the limits of reliable dimensions.
Rule of thumb:
- The minimum reliable diameter of the needle-like structure should be maintained at 1 mm.
- The minimum size of the groove is recommended to be 0.5 mm; the larger the better.
- The minimum printable feature size should be maintained at 0.2 mm.
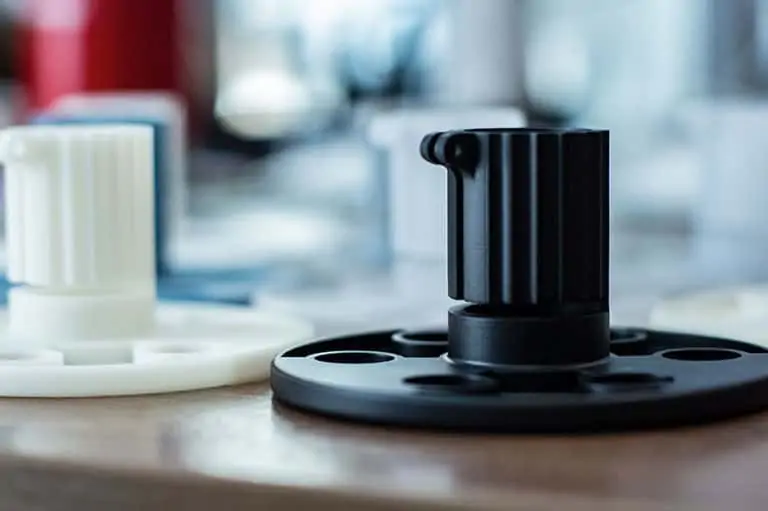
2. Reasonable wall thickness design
Wall thickness is one of the most critical factors in SLA 3D printing design. Walls that are too thin can cause parts to become fragile and may even fracture during printing; Walls that are too thick not only cause material waste but may also cause defects such as warping.
Additionally, uneven wall thickness leads to different cooling rates; thinner areas often cool faster than thick-walled areas, which may lead to cracking, warping, and other issues. Therefore, wall thickness should be reasonably set and the overall structure should be kept consistent as much as possible to avoid defects.
For unsupported walls, since warping or fracture is more likely, they should be designed thicker, and rounded transitions can be added at the bottom to enhance mechanical strength. For supported walls, the risk of warping is lower and can be appropriately thinned, but should still be kept within a reasonable range.
Rule of thumb:
- Unsupported walls: The recommended minimum wall thickness is 0.6 mm.
- Supported walls: The recommended minimum wall thickness is 0.4 mm.
3. Consider SLA tolerances in the design of fitting parts
Although SLA 3D printing can achieve high precision, tolerance issues must still be strictly considered in part design. Tolerances should be reserved during design, and shrinkage during curing should be considered.
This is the only way to ensure parts meet strict tolerance requirements and operate normally. Appropriate gaps should be designed between mating parts to prevent sticking during printing and also to facilitate smooth assembly.
Rule of thumb:
- Between moving parts and assemblies: ensure a minimum gap of 0.5 mm.
- Tight fit or fit: A gap of 0.1 mm can be used.
4. Safely designed hollow SLA parts to save resin
SLA can print fully solid parts, but in many cases, hollowing out the design helps reduce material usage and printing time. However, hollow structures must be carefully designed to maintain structural integrity and avoid common printing issues. Excessively thin walls or fully enclosed cavities can trap uncured resin inside parts, causing pressure imbalances and triggering cracking or even part damage. Additionally, when hollow or concave structures are printed facing up on the printing platform, they may generate suction on the resin grooves, causing parts to fall off during printing.
To avoid these issues, resin holes should always be designed to allow excess resin to flow out and minimize suction as much as possible. For completely enclosed structures, such as spheres or cavities, cavity filling or at least one row of resin holes in each hollow area can be considered.
Rule of thumb:
- Minimum wall thickness for hollow parts: maintain 2 mm.
- Resin hole diameter: at least 3.5 mm.
- Number of resin holes: At least one hole is set in each hollow area.
5. Internal and external corners are rounded and rounded
Sharp corners and sharp edges on parts can lead to stress concentration, increasing the risk of cracking and part failure. Filing the interior and exterior corners allows stress to be evenly distributed within the structure. The fillet radius should be increased as much as possible to promote high-effect force distribution in SLA 3D printed parts.
Rule of thumb:
- The minimum radius of the corner is about 0.5 mm.
- The radius of the interior angle should be at least half the thickness of the relevant wall.
- The radius of the exterior angle should be at least 1.5 times the thickness of the relevant wall.
6. Add clear text and labeling
SLA is ideal for directly adding small logos, labels, or functional text to the surface of parts. However, if the relief or engraved text is too fine, it may suffer from over-curing or resin leakage, resulting in reduced contrast or unrecognizability.
To ensure readability, text should have sufficient height or depth to remain clear even after minor surface treatment.
Rule of thumb:
- Embossed text: height at least 0.5 mm, width at least 0.4 mm.
- Engraving text: depth at least 0.5 mm, width at least 0.5 mm.
- Minimum font size: character height 1 mm, recommended 2 mm or higher.
7. Minimize support and arrange reasonably
In SLA design, support structures should be avoided as much as possible because supports leave marks on the part surface.
However, in some cases, support is necessary, such as for wall surfaces or suspended structures. Most slicing software can automatically detect support positions, so adding supports is relatively easy.
Don't add support unnecessarily. If support is indeed needed, please follow the recommended minimum length and angle requirements. Exceeding these limits may cause the overhanging structure to break during demolding or peeling.
Rule of thumb:
- Unsupported overhang: the length must not exceed 2 mm, and the angle must be at least 30°.
- Support positions: supports should be installed below overhangs, bridges, and any features that may be deformed or lost due to lack of support.
- Support contact points: Try to use smaller contact points to minimize marks on finished parts.
8. Optimized part orientation to reduce support and improve surface quality
In SLA 3D printing, the placement direction of parts affects printing success rates, mechanical strength, and the visibility of support marks. A reasonable orientation not only facilitates printing and reduces support needs, but also lowers risks of warping, suction issues, or insufficient adhesion. Tilting parts also helps resin flow away more evenly, reducing the possibility of "suction cup" or internal stress buildup.
Rule of thumb:
- Reducing overhang: Placing parts to lower the overhang area that requires support.
- Avoid large horizontal surfaces: Avoid large flat surfaces of parts running parallel to the printing platform.
- Tilt angle: Tilt the part 30°–45° to enhance adhesion and reduce printing stress.
Avoid the "sucking cup" effect in SLA design
The "suction cup effect" is a common problem unique to inverted SLA printing. When hollow or concave structures—such as grooves or closed cavities—face downward toward the resin groove, during the process of peeling parts layer by layer, the cavity may trap air or uncured resin, producing a suction effect.
This pressure difference can cause "cracking," meaning the internal pressure causes the wall to crack outward during printing. In severe cases, the suction cup effect can damage parts or resin tanks, and even cause internal resin leaks in the machine.
Ways to reduce risk:
- Avoid cup-shaped geometric structures with the opening facing downward.
- Vents are designed on the sealed chamber to expel air and excess resin.
- Readjust the part orientation so that the hollow or concave surfaces do not directly face the resin groove.
SLA 3D Printing Specification Reference Guide
The table below briefly summarizes Xomeri Technology's SLA 3D printing design specifications for different part features. Referring to these specifications during the design phase is crucial for achieving high-quality printing.
| Specification items | More details |
|---|---|
| General tolerance | ± 0.5% (±0.2 mm) (standard) ± 0.5% (±0.15 mm) (industrial grade) |
| Thick layers | 20–100 microns (depending on printer) |
| Maximum molding volume | Standard: 145 × 145 × 185 mm; Industrial grade: 736 × 635 × 533 mm |
| Minimum feature thickness | 0.20 mm |
| Minimum wall thickness is recommended | With support wall: 0.4 mm; without support wall: 0.6 mm |
Get high-quality SLA 3D printed parts on Xometry
Mastering SLA 3D printing technology opens up limitless possibilities for manufacturing fine, high-precision, and smooth-surfaced parts. By following the design tips in this guide, you can achieve outstanding print results, making parts more functional, durable, reliable, and interchangeable. These tips are also key to ensuring compliance with the industry's high standards.
Ready to take your project to new heights? By partnering with Xometry Technology, fully unleash your creative potential and enjoy unparalleled quality and professional support in the SLA 3D printing field.